


First install Grandstream via Google Play: Then Start Grandstream. Go to Settings at the bottom right: Account Settings : Click on + (New Account) In VOIP Providers select Boxis.net : Fill SIP User ID, as well as Passwo…
Configuring the Grandstream Android SIP client
Last updated: April 2026
Reading time: ~2 min
Audience: Boxis customers and administrators.
What you'll accomplish
- Complete the configuration or task described in this guide for your Boxis service.
Prerequisites
- Access to the interface, device, or server described below.
- Information or credentials you received from Boxis (contract, welcome e-mail, or client area).
Note Boxis: Offers and screens may differ slightly depending on your product. When in doubt, open a support ticket with your service reference.
First install Grandstream via Google Play: Then Start Grandstream.
Go to Settings at the bottom right: Account Settings :

Click on + (New Account) In VOIP Providers select Boxis.net :
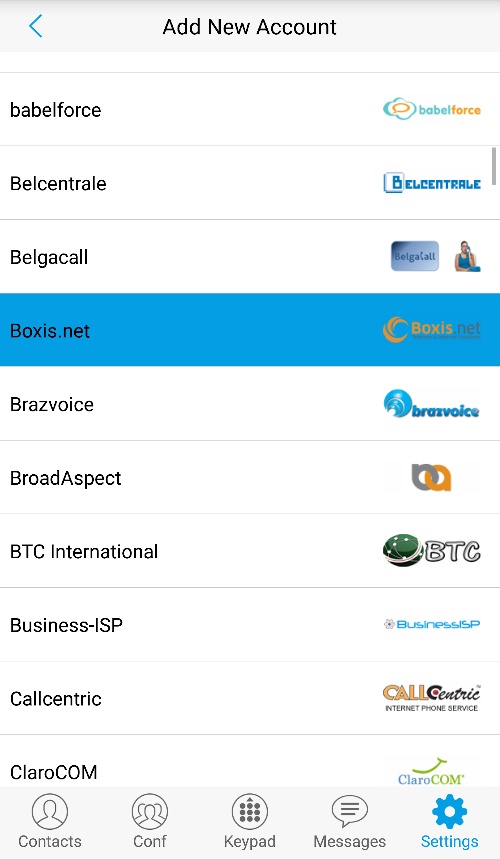
Fill SIP User ID, as well as Password, the account name can be anything. Then confirm with the up arrow.
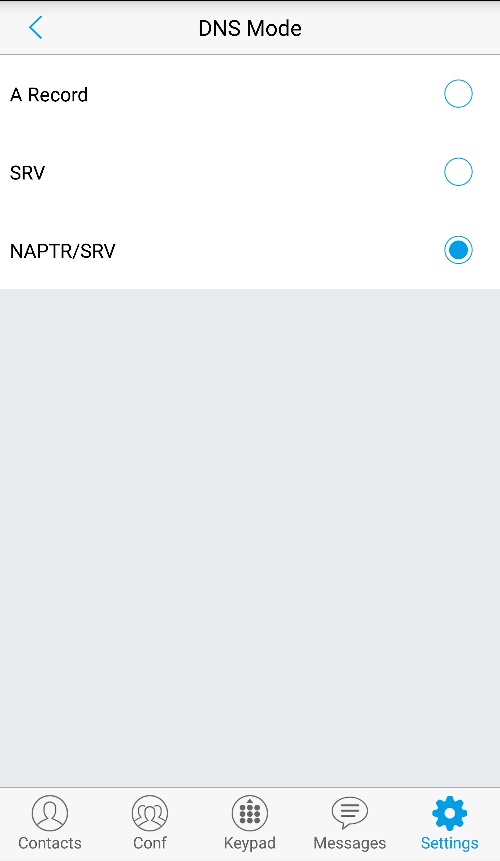
Return to the account, in the network settings tab select "DNS MODE" and set to : NAPTR/SRV :
(On Iphone, you must uncheck the wifi mode: Advanced settings tab - uncheck only use Wi-Fi to register the account).
Expected result
- The product behaves as described in each step (connectivity, message, or UI state).
If something goes wrong
- Repeat the step and check for typos (hostnames, passwords, ports).
- Note the exact error message or screenshot.
- Open a ticket in the Boxis client area with the service name, time of the test, and any trace (e.g. traceroute) if it is a network issue.
See also
- Other articles in the same category in the Boxis knowledge base.
/knowledgebase/— main knowledge base index.