


Using SSH on Windows PuTTY Summary Using a Public/Private key to authenticate when logging into SSH can provide added convenience or added security. The Public/Private key can be used in place of a password so that no u…
Using SSH on Windows PuTTY
Letzte Aktualisierung: April 2026
Lesezeit: ca. 2 Min.
Zielgruppe: Boxis-Kunden und Administratoren.
Was Sie erreichen
- Sie führen die beschriebene Konfiguration oder Aufgabe für Ihren Boxis-Dienst aus.
Voraussetzungen
- Zugriff auf die beschriebene Oberfläche, das Gerät oder den Server.
- Informationen oder Zugangsdaten von Boxis (Vertrag, Willkommens-E-Mail oder Kundenbereich).
Hinweis Boxis: Angebote und Ansichten können abweichen. Bei Unklarheiten Ticket mit Service-Referenz öffnen.
Using SSH on Windows PuTTY
Summary
Using a Public/Private key to authenticate when logging into SSH can provide added convenience or added security. The Public/Private key can be used in place of a password so that no username/password is required to connect to the server via SSH. Instead the unique public and private key provide the secure authentication. The keys may also be generated with a different password from your cpanel password if desired.
Generate a Public/Private Key Pair
- In the cPanel click on the SSH/Shell Access icon under the Security category.
- Open the Manage SSH Keys tool.
- Click Generate a New Key and complete the fields shown. We recommend the RSA key type and a 4096 bit key size for maximum security. Note: There is bug in cPanel at this time that does not allow you to create a 2048 or 4096 bit DSA key
- The location of the newly generated public and private key will be shown as well as the key fingerprint.
- Click Go Back.
- Next to the Public Key you generated, click Manage Authorization then click Authorize to activate this public key.
- Click Go Back.
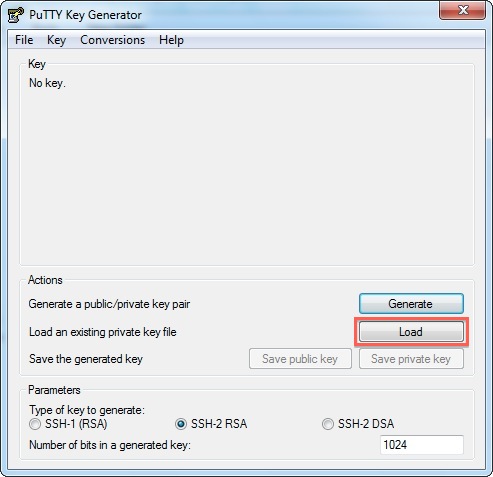
- To the right of the Private Key, click on View/Download. Then click the Download Key button. Save the file to your computer and click go back.
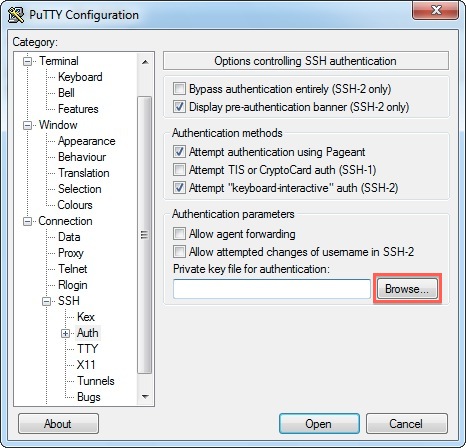
You may now use the private key saved on your computer to SSH securely to our server. If you are using PuTTY, please see the configuration steps below.
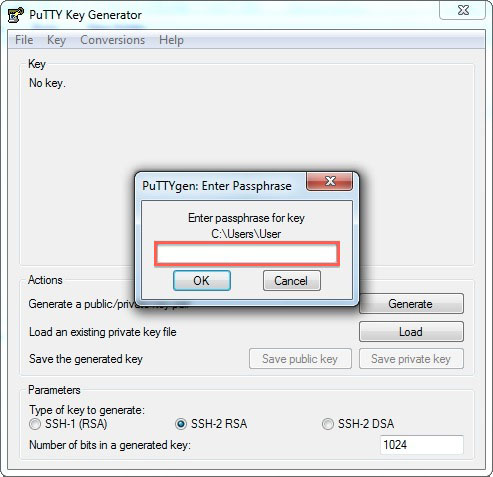
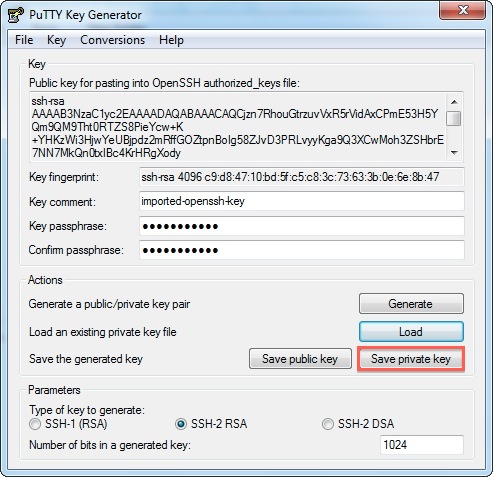
Generate a ppk file
Note:
**All Files***
File Name
Configuring PuTTY
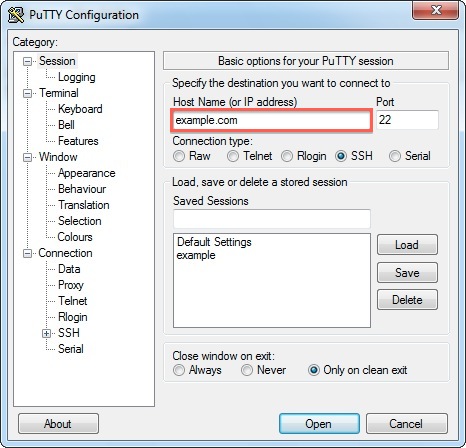
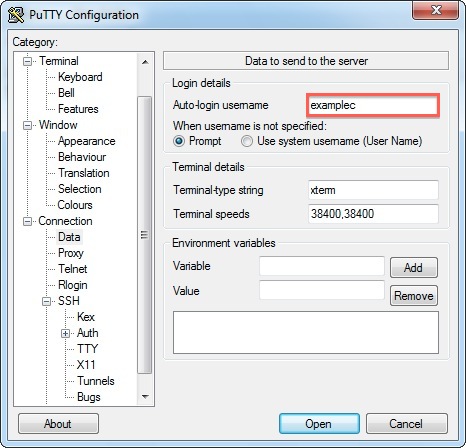
- Under Sessions, type a name (such as "my site") in the Saved Sessions box and click Save.
Erwartetes Ergebnis
- Der Dienst verhält sich wie in den Schritten beschrieben.
Bei Problemen
- Schritt wiederholen, Tippfehler prüfen (Hostnamen, Passwörter, Ports).
- Fehlermeldung oder Screenshot notieren.
Ticket im Kundenbereich mit Dienstname, Uhrzeit und ggf. Traceroute bei Netzwerkthemen.
Siehe auch
- Weitere Artikel derselben Kategorie in der Boxis-Wissensdatenbank.
/knowledgebase/— Startseite der Wissensdatenbank.